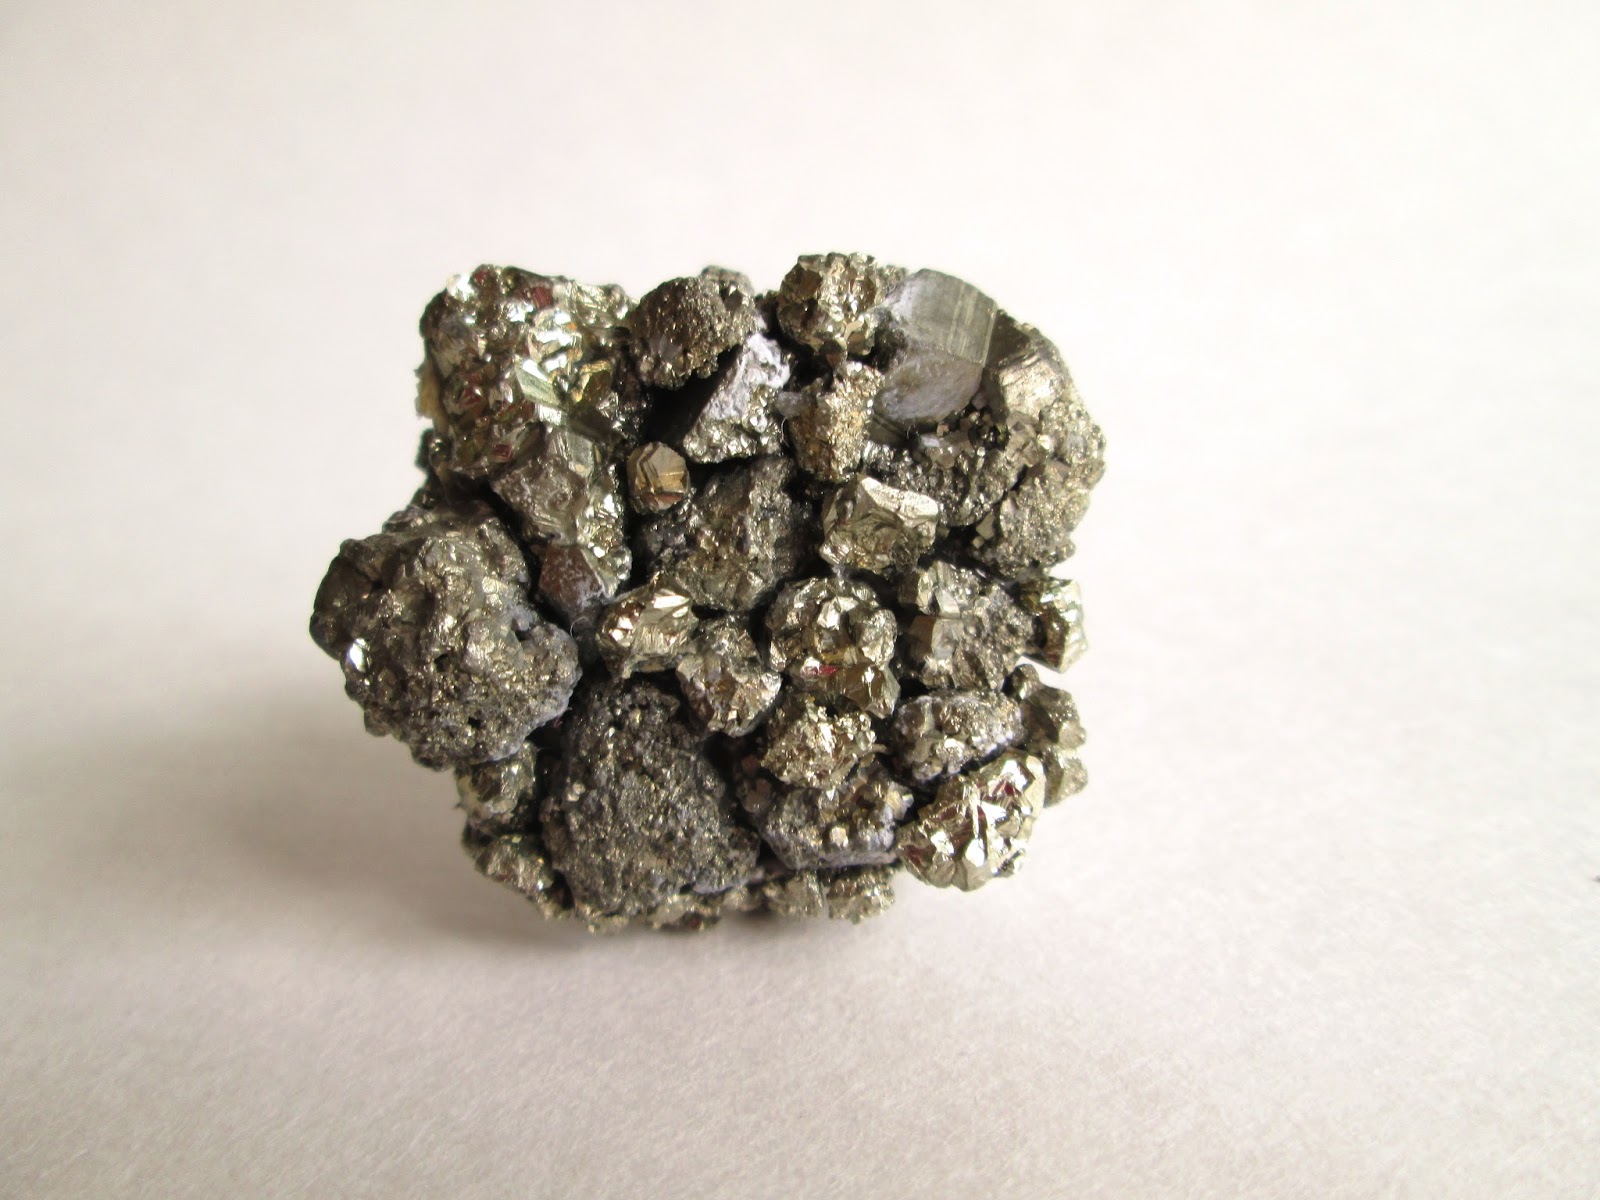
You need:
- Plain Knobs – they can be any general shape or size, but the top surface must be flat. I found a great set at Wal-Mart for just a few dollars each. Want round knobs? Make round knobs! Want heart or diamond shaped knobs? You can make those too! It's literally up to you and what you can find at your local store.
- Pyrite/Quartz Rocks – Amazon sells bulk bags of pyrite, quartz, amethyst, etc. I chose Anthro’s pyrite version, but they do have two other colors (amethyst and celadon) that you can replicate. The process will be the same. I purchased a 1lb bag of pyrite on Amazon for $15, and I had more than enough to do quite a few knobs.
- Super Glue – I prefer Gorilla brand super glue (NOT the foamy stuff) because it’ll hold anything.

Precrafting
Prep: I recommend planting your knob in a container of rice, beans, sand, etc, so
that it sits up right. This will make it much easier to attach gemstone pieces
without them sliding off. I used reptile bedding in a mini flowerpot – don’t
judge, it’s what I had on hand. And the tortoise doesn’t mind sharing a little.
If you are
using pyrite, it will probably be pretty dusty and dirty. My entire package was
covered in pyrite dust, so I gave the pieces a thorough rinsing before working
with them. Also, a lot of my pieces looked kinda like plain grey maybe slightly
sparkly rocks. I broke a few open with a hammer, and what do ya know, the
insides were full of the super sparkly geometric formations we’re looking for.
Depending on the quality, you may have to do a little smashing of your own.
Tip: place them inside a folded over paper towel to prevent little pieces from
flying everywhere when you hit them.
Step
One
Assembly is fairly simple. Start by gluing on
any big pieces. After they dry, you can fill in the gaps with smaller pieces. I
wanted an organic but vaguely square shape, so I arranged my pyrite pieces in
that manner. I don’t have a lot of time to sit and wait for things to dry, so I
added a couple of pieces, went on about my life, came back and added a few, and
so on. This process took a couple of days, but was a lot less annoying than
sitting to watch the glue dry (which can surprisingly slow). Anthro's uses lots of smaller pieces, while my version uses bigger pieces. It's really up to you and what you like best, but the smaller pieces version will take a bit more time.


Step Two
If you use pyrite, I recommend sealing the
whole thing with a light spritz of Mod Podge’s Clear Acrylic Spray. This will
prevent any of that gross black dust from rubbing off on your hands, etc. This
step can probably be skipped for amethyst or quartz, but I leave that to your discretion.


Great idea!! These look exactly the same! This is such a fun project!! Awesome job. Oh, and 'planting' the knobs to enable you to work is genius!!!
ReplyDeleteThanks Katie! I wish I could take credit for the planting idea, but I'm definitely not the first haha
DeleteOkay! I am trying to comment again in a different browser! Totally weirding me out that I can't leave comments on your blog :(
ReplyDelete- Tasha @ Designer Trapped in a Lawyer's Body
Tasha! This has gotten me so worried :( I hope other people aren't trying to comment and failing.
DeleteLove this! It looks just like the one from Anthros. Awesome job & thanks for linking up to Link'n Blogs Link Party! :)
ReplyDeleteOh thanks Katelyn! Thanks for stopping by!
DeleteThis is brilliant, literally and figuratively! Now I want to stick pyrite on everything...
ReplyDeleteChelsea I do too! I may have another project in the works...
DeleteHeello mate nice blog
ReplyDeletecanlı sex hattı
ReplyDeletesalt likit
heets
arkadaşlık sitesi
https://cfimi.com/
BXJ2UJ