

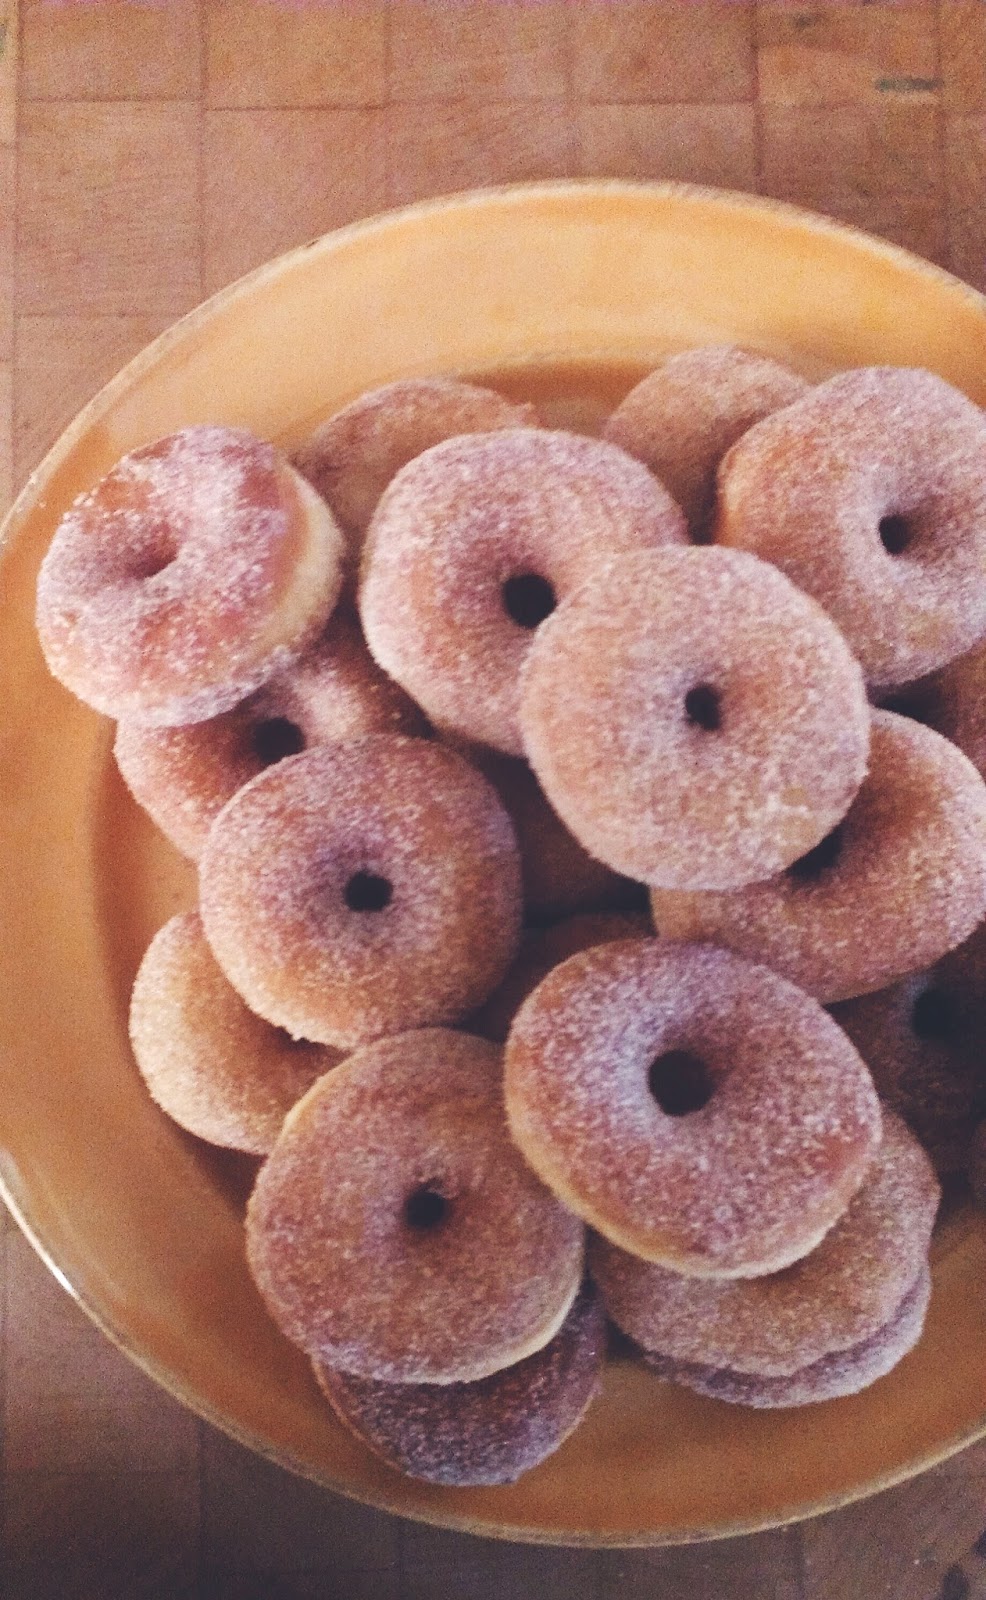
Doughnuts. Donuts. Either way, they're delicious. Today I'm sharing a fun and *fairly* easy recipe that's been modified from Martha Stewart's original. Because her version was good, but, let's be realistic - who's going to check the temp of their water, refrigerate overnight, and get up early only to wait 3-4 hours? Yeah, I didn't think so.
You need:
- 2 envelopes active dry yeast
- 3/4 cup water
- 3 1/4 cups all-purpose flour, plus more for surface
- 2 tablespoons buttermilk
- 1/2 cup sugar
- 1/2 teaspoon salt
- 6 large egg yolks
- 4 tablespoons (1/2 stick) unsalted butter, melted and cooled enough that it's not hot
- Vegetable oil cooking spray
- Vegetable oil for deep-frying

Step
One
In the bowl of a mixer, combine 1 envelope yeast with 1/2 cup
plus 2 tablespoons of warm water – I microwaved it for 30 seconds. It needs to
be warmer than room temp, but not hot. The Martha Stewart recipe recommends 110
degrees, but it doesn’t seem to matter if it’s precise. Let the mixture sit
until it’s foamy (it may not be super foamy, but will have noticeable
bubbles), which is about 5 minutes. Then add 1 cup of flour, and beat on low
speed until it’s well combined. The original recommends that you refrigerate it
overnight, but I am immensely impatient and only let it go for 7 hours. As long
as it’s doubled in size, it should work fine.
Step Two
In another bowl, combine 1 envelope of yeast, 2 tablespoons warm
water, and warm buttermilk – again, I just microwaved it for 30 seconds. As
with the first yeast mixture, you’ll need to let it sit for about 5 minutes
until it’s foamy. In a separate mixer bowl, combine the sugar, salt, and
remaining 2 1/4 cups flour. Then add the foamy buttermilk mixture, egg yolks,
and butter. Beat the mixture on low speed until well combined, about 2 minutes.
The original recipe stated that the dough needed to “come together,” but I
really don’t see how it could come together without adding more moisture. Mine
was well mixed, but crumbly. The largest clump was maybe the size of a dime.
Step
Three
Next, add the flour-yeast mixture
from step one. Beat until the dough is soft and sticky, about 3 to 4 minutes.
On a lightly floured surface, knead the dough into a ball, and then place the
dough, smooth side up, in a bowl coated with vegetable oil/spray. Cover with a light
dish towel. This is another place where I cheated a bit. Generally, the dough
should stand in a warm dry place for about 3 hours, or until it’s doubled in
size. But, I started this process in the morning, and by the time all of this
was done, it was about 9 hours later and I really didn’t feel like making
doughnuts for dinner. So I let it stand in a warm place for two hours, and then
moved it to the fridge, where it finished doubling in size overnight. All in
all, it refrigerated for about 15 hours. I like to sleep in.
Step
Four
If you’re like me and prepared the
dough the night before, remove it from the refrigerator, and allow it to come
to what is vaguely room temperature, which will probably take about an hour. If you’re a
regular Betty Crocker, or, apparently, Martha Stewart, and you didn't refrigerate after step 3, you can skip all that.
Divide the dough into thirds, and cover two of those with plastic wrap. Roll each piece to
1/4 inch thickness on a floured surface, and then cut out your doughnuts. You
can buy actual doughnut cutters, but a round cookie cutter and something small
and round (pastry bag tip, or something) will get the job done just fine. Place on a
parchment paper lined baking sheet, and let them rest in a warm place for 15 minutes.
Step
Five
It’s fry time! I used the deepest
pan I had on hand, because the oil needs to be at least 2 inches deep. The
original stipulates that the oil needs to be at 350 degrees, but I found it was
hard to keep it right at that temperature, even with a thermometer. My oil
bounced between 320 and 380, and the doughnuts seem to cook best between 340 and 360.
Slip them into the oil (I usually did no more than 8 at a time) turn once, and
remove when golden brown. If you’ve never fried anything before, it can be a
little intimidating, but you’ll learn what to expect and what to look for
quickly. When the hole started turning golden brown, I knew to flip them. It’s
not the end of the world if you flip them, decide they’re not ready, and flip
them back, but you’ll want to turn them slightly sooner than you think because
they’ll continue to brown a bit after being flipped. Once they’re done,
drop them onto a paper towel, which will absorb the excess oil.
If your family is anything like
mine, they won’t want to wait for you to glaze them. I coated the first third
or so in cinnamon sugar as soon as they were cool enough to touch, which sated
their hunger while I fried and glazed the rest.
I’ll be sharing 3 easy glaze
recipes later this week, so be sure to check back for those. Happy eating!

This post was featured on Flamingo Toes and Mingonis Home.


My grandma used to make doughnuts like this every Halloween. We would put them in a paper bag and shake the sugar on as soon as they were cooked. Good memories! Pinned!
ReplyDeleteThat's so sweet! I'm so glad this recipe was able to bring back some fond memories. :)
DeleteMy grandmother used to make them too. Funny how grandmothers and homemade donuts go together! Thank you for linking up to the Bloggers Brags Pinterest Party. I have pinned your post to the Bloggers Brags Pinterest board.
ReplyDeleteIt is funny, but also insanely awesome. I had no idea this recipe would bring back memories for so many of my readers! Thanks for sharing!
DeleteMy Mom made them once and boy they were good!
ReplyDeleteThanks for hosting a great party!!
ReplyDeleteHi Brittany! I just read through the recipe... seems a lot easier than what Martha says. :) Thanks for linking up at the Enchanting Inspiration party! I'm featuring them tomorrow evening and then will share them on my FB page as well!
ReplyDeleteAw yay thank you!!
DeleteYou made an article that is interesting.You are so amaz
ReplyDeleteYou make so many great points here that I read your article a couple of times. Your views are in accordance with my own for the most part. This is great content for your readers 토토사이트
ReplyDeletePretty good post. I just stumbled upon your blog and wanted to say that I have really enjoyed reading your blog posts. Any way I’ll be subscribing to your feed and I hope you post again soon. Big thanks for the useful info. 온라인경마
ReplyDeleteCommon outings let us discuss simplest way to thanks a ton for your personal efforts, which will is why I’m just checking out the positioning on a daily basis, interested in innovative, helpful information and facts. Lots of, thanks a lot! 바카라
ReplyDeleteThis is such a great resource that you are providing and you give it away for free. I love seeing blog that understand the value. Im glad to have found this post as its such an interesting one! 토토
ReplyDeleteشركة رش دفان بالدمام والخبر من الشركات المهمة والمتخصصة في القضاء على الحشرات والحد من انتشارها فلا شك أن وجود حشرات الدفان بمنزلك أمر مرعب وكارثي للغاية لذلك تكون بحاجة جدية للتواصل مع أفضل شركة رش دفان بالدمام والخبر كي تخلصك من ذلك المأزق بأرخص الأسعار.
ReplyDeleteشركة رش دفان بالدمام
شركة speedway تعد افضل شركة نقل في حي الملقا حيث تقدم خدمة نقل الأثاث والبضائع من المنطقة لأي مكان كما تمتاز بوجود فريق ضخم مكون من أكثر من 1000 من الموظفين والعمالة المدربين على تيسير مهمة نقل العفش على العميل.
ReplyDeleteشركة نقل العفش بحي الملقا الرياض
تقدم شركة أنوار الجنة حلول خدمات شركات عزل المواسير بأعلى جودة وأسعار منافسة. تتمثل خدمات الشركة في عزل المواسير من الحرارة والرطوبة والضوضاء وتغطية الانابيب من الشمس، وتحسين كفاءة استخدام المياه
ReplyDeleteشركة تسليك مجاري بالجبيل تعتبر أولى الشركات المتخصصة في خدمات الصرف الصحي، حيث تقدم لكم افضل خدمات تسليك المجاري في المنطقة بأفضل الأجهزة والأدوات،
ReplyDeleteارخص شركة تنظيف بالخرج تقدم لكم فرصة فريدة للاستفادة من خدمات تنظيف المنازل والمكاتب بأعلى مستويات الجودة والكفاءة. نفخر بأننا نوفر لعملائنا خصومات حصرية تصل إلى 40%
ReplyDeleteشركة صيانة افران الغاز بالرياض تقدم لك خدمات صيانة وتصليح كل أنواع الأفران، هذا بالإضافة إلى أن تقدم خدمات أخرى مثل تنظيف الأفران وتغيير قطع الغيار التالفة بقطع وأجزاء أخرى جديدة، وهذا بالاعتماد على فريق عمل احترافي لديه خبرة جيدة في العمل في هذا المجال.
ReplyDeleteCool and that i have a super supply: Renovation House Company remodel renovation
ReplyDeleteتقدم didiclean أفضل خدمة تنظيف بالبخار بمكة مع خصماً استثنائياً لعملائها بنسبة 50% على خدمات التنظيف العميق لكل أنواع المفروشات والأرضيات بتقنية البخار المتطورة التي تضمن النظافة الشاملة دون استخدام مواد كيميائية ضارة.
ReplyDeleteأفضل شركة تنظيف بالبخار بمكة
الحفاظ على نظافة السجاد في المنزل أمر ضروري للصحة والمظهر العام للمكان.
ReplyDeleteشركة تنظيف بالاحساء