

In an effort to satisfy my love for glitter, this
week’s tutorial will be on glitter phone chargers! I’m in love with all things glitter, and
while I know there are already several videos and blogs online, I wanted to take
things one step further by incorporating a few of the currently trending patterns. In
the post that follows, I’ll show you have to do chevron and ombre patterned
glitter chargers, and at the end, you’ll be given the opportunity to win a
Phillip Lim inspired micro usb charger made by yours truly. Happy crafting!
You need:
- Phone charger - white works best for bright colors
- Mod Podge - I used the matte version so that it's easier to tell when it's still when enough to apply glitter
- Small paint brush - the more complex your design is, the smaller the brush should be
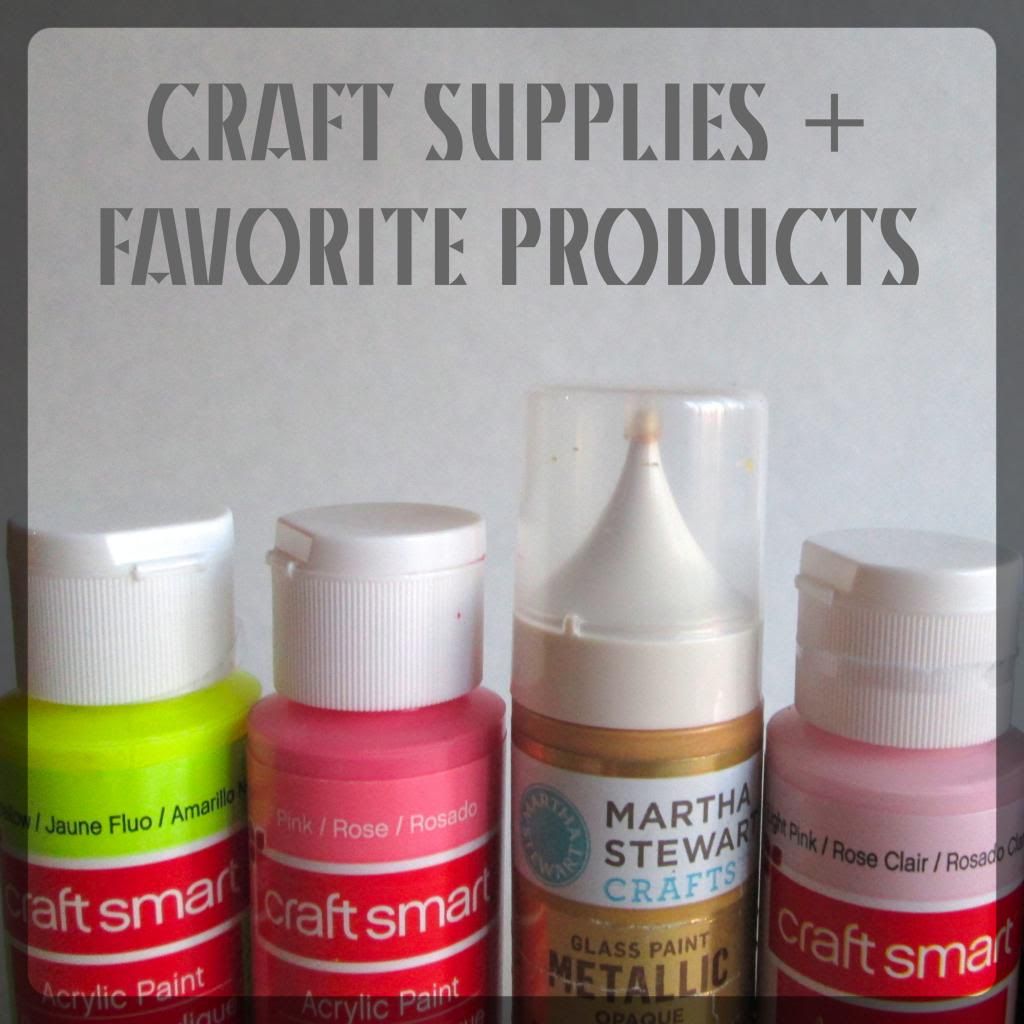
- Glitter! I bought two multi-color packages from Michael's to get the biggest color range for the least amount money. You'll want to go with a finer glitter (not one with super huge flecks)
- Skinny permanent marker
- Sealant - I used Mod Podge clear acrylic spray in the shiny finish, but clear nail polish will also work
- Tape
Pre-crafting
preparation: To help contain the excess glitter, you can put down a layer of
newspaper. You may also want to keep a small hand-held broom or vacuum close
by. To prepare your phone charger, you can wipe it down with Windex – you’d be
surprised how dirty these things get! If your charger is relatively new or
clean, you can skip cleaning. The most important part of the preparation is
wrapping the areas that will stay plain in tape – the usb port (this will get a
small piece of tape over it to cover the hole), the metal prongs, and on the
cord, both the usb metal and the first inch or so of the cord.

Step One
To
start, you’ll want to plan out your pattern. Note: the ombre patter is much easier to
execute, and is therefore more beginner friendly. The chevron pattern requires
more time, patience, and a steady hand. I will provide several step-by-step
photos of the chevron pattern to help you along.
Chevron:
I first drew the design on a piece of scrap paper, and then cut it out to use
as a stencil. Next, trace the stencil
onto your charger with the permanent marker. If in this step you make a
mistake, you can “erase” it fairly well with nail polish remover – just make sure
it dries completely before moving on to the next step. When considering what glitter to use, keep in
mind that you’ll want one background color, and a few darker stripe colors.
Ombre:
After selecting your two base colors (I chose gold and lavender), you’ll create
two in-between mixed colors. One should be closer to the first base color, and
one should be closer to the second base color.
I used the cut-off corners of a Ziploc to mix and then store my
goldish-lavender glitter and my lavenderish-gold glitter.

Step Two
In this step, we’ll be applying the Mod Podge. Keep in mind that this step will have to be done quickly and in small sections so that the glitter can be applied before it has dried.
Chevron:
Using the small paintbrush, paint inside the lines of your base color stripes.
This is the only step in which you can do multiple stripes without waiting in
between – the base color will be the same everywhere, so it’s a little harder
to mess up.
Ombre:
Apply glue to the bottom quarter of your charger. The top edge of that section
should be wavy instead of perfectly straight – this will help the sections
blend together a bit better.
Note: if you are using white glitter, any permanent
marker lines will show through. Make sure that the white is just inside the
lines, and that the darker stripes cover the lines. If your charger has a dark
logo that you don’t want to see through the glitter, you can cover it with whiteout
before applying the glue.

Step Three
For
both patterns, you’ll want to pour on a pretty thick layer of glitter. If you
pat the glitter on, or dip the charger into the glitter, if will have a
different look. You may want to play around with technique before you start so
that you can figure out what you like best. After covering each section, you
can tap the charger gently against your work surface to knock off extra
glitter.
Chevron:
Gently pour the base color glitter onto the sections you just painted with Mod Podge. After a drying period of about
twenty minutes, you can repeat steps two and three for each subsequent color
stripe. If you have large amount of excess glitter, you can tap it off in between each step - just be careful to only touch plain areas. Once the stripes are done, you can cover the sides and back of your charger - I used just the base color, but you can continue the chevron pattern if you'd like.
Ombre:
Pour your first solid base color onto the first quarter. After allowing it to
dry, you can repeat steps two through three for each subsequent level. The next
color to go on will be the mix that is closest to the first base. The third
color will be the mix that is furthest from the first base (and closest to the
second base), while the fourth color will be your second base color.

Step FourAfter allowing your charger to dry overnight, gently brush off any excess glitter that is in the wrong area (i.e. if there's pink glitter on a blue stripe) with a dry paint brush.
Clear
Acrylic Spray: Because you need to avoid getting spray on other surfaces, you
will want to find something to hold the charger. You can see my method in
the photo above. Following the directions on
the can, apply two to three layers. You may want to do this outside, as the
spray has a very strong chemical smell, and the charger will take several hours
to fully dry.
Nail
Polish: Carefully apply a clear topcoat in smooth even strokes, making sure to
avoid removing the glitter with the brush by applying a moderately thick layer.
Allow to dry overnight.


Win a Phillip Lim Inspired Micro USB Phone Charger

Interested
in winning this bad boy, made by yours truly?

We will select one random winner in the beginning of March. The winner will be notified personally via Facebook message, email, or Google+. Unfortunately, this contest is limited to residents of the continental United States.
Good luck!


I love the ombre one! I don't have that kind of patience though.
ReplyDeleteThe great thing about this project is that you can pick it up, work on it, and then leave it for a day. You can take as long as you need. :)
DeleteOMG! This is perfect timing...I was just looking at my dingy iPhone cord and was thinking of covering it with washi tape, but I like this so much better! Plus, I have all the supplies :-). Found your blog through TurnItUp Tuesday Linkup
ReplyDeleteyay! So glad you found this tutorial helpful. :) Thanks for stopping by!
DeleteOh I love this idea!! Glitter should be on everything. Too cute! Stopping by from Link n Blogs link party!
ReplyDeleteGlitter should be on everything! Thanks Emily!
Deleteoh oh oh I love glitter and anything by apple what a beautiful idea! I also think my teenage boys would never take my charger again LOL
ReplyDeletePink glitter would definitely be a good deterrent for teenage boys…and husbands/boyfriends ;)
DeleteThis is such an awesome idea...I LOVE it! Thanks so much for sharing it on Twirl & Take a Bow last week! I hope you'll join us again this week...if you haven't already! :)
ReplyDelete- Brooke -
I'm so glad you love this tutorial, and thanks for hosting such an awesome party! I will definitely be back.
DeleteTruly an amazing charger. If you want another way of charging your phone that is eco-friendly, you can check out a wooden wireless charger instead of a regular plastic built charger. The wooden chargers are durable, eco-friendly and you get to design your own charger.
ReplyDelete