

Mandi over at Vintage Revivals has ignited a leather obsession within many of her readers, and I for one am happy to further the trend. This tutorial is one of the simplest I've ever done, and can be taken in soooo many directions. I'm currently working on a brown leather southwestern patterned set as a gift, because, really, who doesn't love leather and need coasters?
You need:
- Leather - I purchased a lovely scraps package from Michael’s. It was $6 for a pound, and I ended up with some really beautiful colors, including the lavender I used in this tutorial, periwinkle blue, yellow, brown, and black. The leather you use for this project can be soft (suede) or smooth (actual processed leather), but if it is soft, it should have really short fibers. Longer textured suede will be hard to paint precisely.
- Cork – you can buy sheets from Wal-Mart and most craft stores. It needs to be thin enough to cut with scissors, but not too thin. Ideal size is ¼ of an inch or so. Update: Just the other day I found out Michael's sells rounds of cork for this sort of thing...
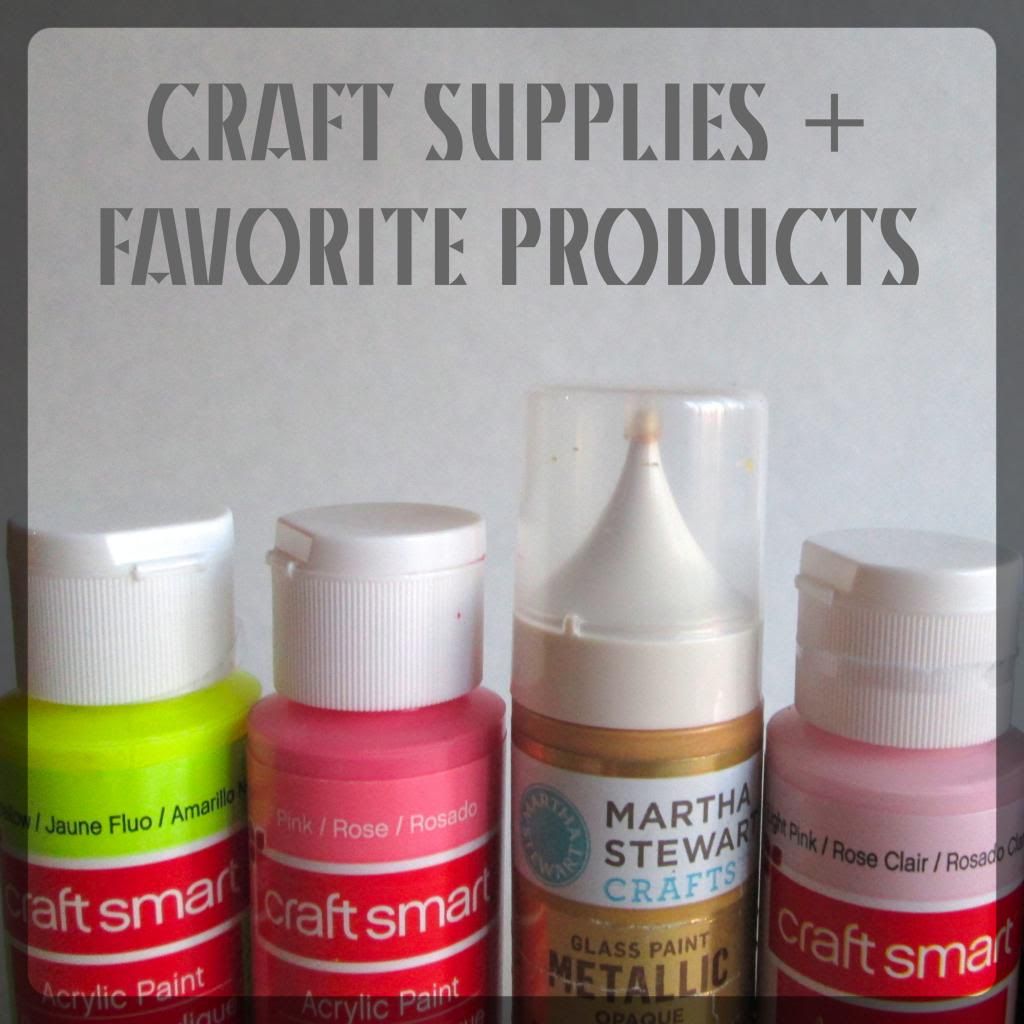
- Paint – I used fabric paint and a gold glass enamel. I chose the enamel because it “air cures” after a certain period of time to become water resistant, and is much more metallic and pretty than gold fabric paint. No matter what you choose, it should be air curable, that is, don’t select a fabric paint or enamel that has to be cured with heat/iron/whatever. Regular craft paint won't work because it is always susceptible to water, even after drying. The fabric paint I used is water resistant after 72 hours, and the Martha Stewart enamel is completely water resistant after 21 days.
- Scissors
- Glue – I used Aleene’s Fabric Fusion and it worked amazingly.
- Mod Podge - I used the matte finish.
- Ruler + Pencil or Chalk. If you’re using dark leather, you’ll want to use the chalk. I cut a piece in half with scissors so I’d have a really narrow edge and cleaner lines.

Step
One
Start by cutting four circles out of the
leather and cork. I used an abnormally large glass as a stencil.

Step Two
Next, glue the leather circles to the cork, and
place them under weight to dry. It’s important that they’re under pressure for
the entire time they dry because if they aren’t, the edges will curl up
slightly and they’ll be uneven.

Step
Three
Now you can paint! I stuck with geometric
patters. For the hexagon, square, and circle patterns, I used stencils. For the
triangle pattern, I went through the same process that’s used for the West ElmKnock-off Jewelry Box, but I made the triangles taller than they are wide.


Step
Four
The last step is to seal the raw cork edges with Mod Podge, which will prevent it from further crumbling. Paint a fairly thick layer around the outer rim - there's no need to seal the bottom - while avoiding the leather.
The last step is to seal the raw cork edges with Mod Podge, which will prevent it from further crumbling. Paint a fairly thick layer around the outer rim - there's no need to seal the bottom - while avoiding the leather.
That’s it! They’ll need plenty of time to dry
and “air cure” (generally 72 hours – 21 days, depending on the paint you choose),
but other than that it’s a super simple tutorial. Happy crafting!


Update:
I've now been using my coasters for several weeks, and they are holding up GREAT! I had a cup that was leaking water, and one of the coasters ended up soaked. I was worried it'd be too much moister for the paint or glue to stand up against, but neither one failed, and it dried out just fine. The paint is as perfect as the day I painted them, and the glue doesn't seem to be going anywhere. I'd call this a win! Also, the photos don't really do the pretty sparkly gold enamel justice. Just sayin'.


These are awesome! Thanks for linking up at Link'n Blogs. I shared on Put A Bird On It's FB page. :)
ReplyDeletexo
Daniela
http://iputabirdonit.blogspot.com
Awesome, thanks Daniela!
DeleteThese are fantastic. I love them.
ReplyDeleteThank you!!
Deleteeasy and chic project! pinned! :)
ReplyDeleteThank you, I'm happy you liked it. :)
DeleteI love these! I hate the coasters I currently have so I need to add these to the to make list.
ReplyDeletePS I found you from Flamingo Toes
I'm so glad you found them inspiring. I hope you share pics once you're done!
DeleteIm in love! These are amazing! I am featuring them on Link It Or Lump It tomorrow morning......
ReplyDeleteOh yay thank you Sonnet!!
DeleteI LOVE these! So, so cool! Thank you so much for linking up at Thursday STYLE :) Just pinned and shared on FB!
ReplyDeleteThanks for another great party, and thanks for sharing!!
DeleteWhat a creative idea! I love how you painted them too! Thank you for sharing them with us! ~Tammy
ReplyDeleteThank you Tammy, and thanks for stopping by!
Deletethese are super cute and classy. i'm pinning!
ReplyDeleteAwesome, thanks for sharing!
DeleteSuper cute, I love the designs you painted on these!
ReplyDeleteThanks Sara! The possibilities are endless, which means they truly can be personalized :)
DeleteGorgeous, I just might have leftover vinyl from my daughter's and sons' Easter outfits (I'm making a faux leather shrug and bow ties). Love the geomotric coasters!
ReplyDeleteThank you for posting a Vegan option ..vinyl is cruelty free ..❤👏
DeleteAnd I forgot to add I'm following you from the Link'n blogs link party and pinning to my dream house... board
ReplyDeleteUsing leftovers from another project is a great idea! There's no sense in letting it go to waste. Thanks for stopping by + sharing!
DeleteSo cool!
ReplyDeleteThanks Emjay!
DeleteI like these but I don't like the fact that you have said to use LEATHER! ? Why use Animal skin when we have so many options out in this world that is Cruelty Free . I would say alternatives to leather would be Denim , linen , felt ..heavy canvas ..more Im sure ..💔🐴🐮💀✌
ReplyDeleteWow! That's great. Currently, I'm using custom car air fresheners from Sundaypromotion for my brand promotion and its quite effective. Anyway, there is a huge scope for these promotional products.
ReplyDelete