

I fell in love with this mosaic patterned jewelry box from West Elm - the pattern, the colors…the whole thing is just awesome. My version cost about $11, which is definitely a much happier price than the original featured. Plus, you can customize the pattern with absolutely any color, making a fun and totally "you" one-of-a-kind piece. Happy crafting!

You need:
- Plain Wood Box – I bought a two-pack at Michael’s. They have boxes with and without latches, and the choice is really based more on personal preference than anything else.
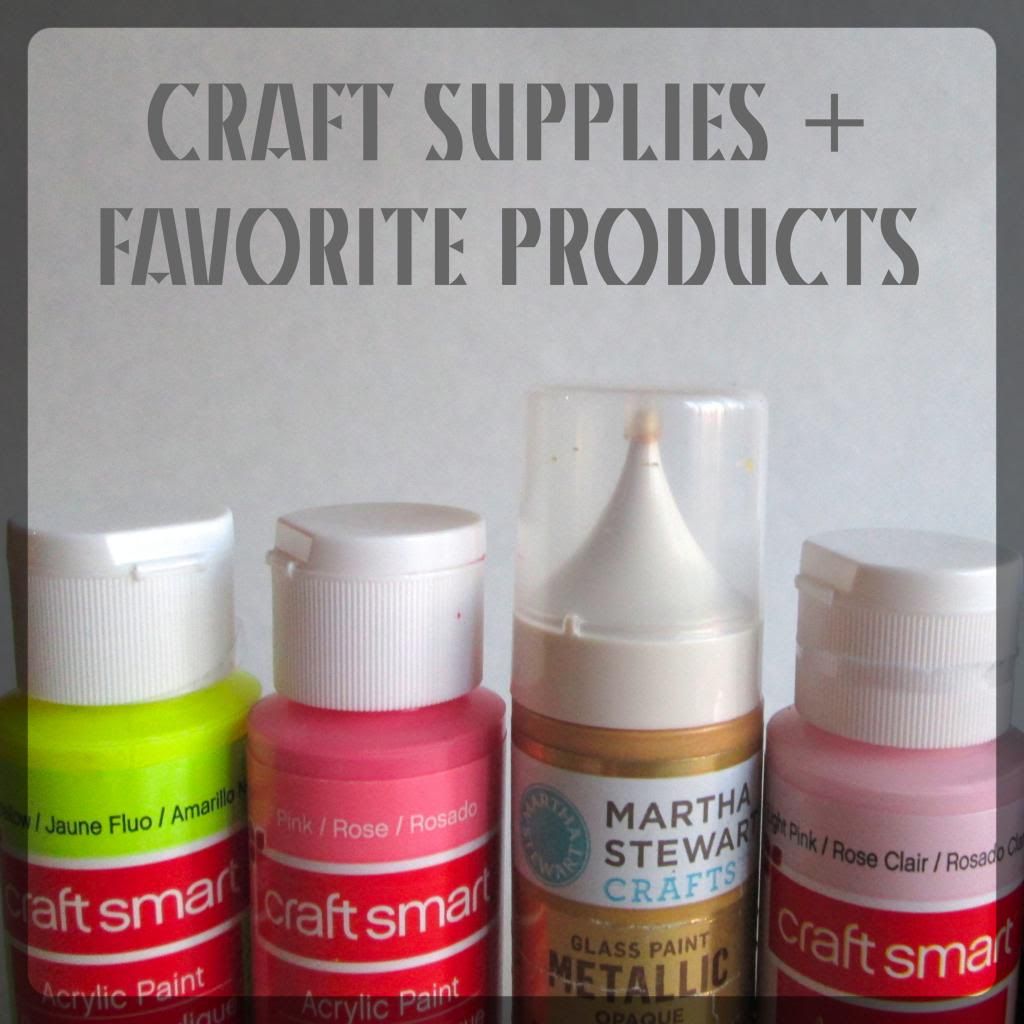
- Paint – I used the cheapest options available: Craft Smart acrylic paint in Pink, Grey, Neon Yellow, Robins Egg Blue, and White, and Americana acrylic paint in Spiced Pumpkin and Cranberry Wine.
- Small paint brush
- Sealant – Mod Podge Clear Acrylic Spray
- Ruler + Pencil
Precrafting Prep: If your box
is rough, you may want to sand it first. My box ended up a little more uneven than
I would’ve liked.
Step
One
Start by using your ruler to lightly pencil
horizontal rows onto your box. Each row was the same width as the ruler. The
rows should go up the front, across the top, and lastly around the sides. Note:
There’s no way to have the design match up on all sides (even the original
doesn’t). My pattern starts on the front and wraps up the lid and around the
sides, so the front panel matches the top and sides, but the top and sides
don’t match each other.

Step Two
Next draw your triangles within each row. The
sides of my triangles are all 1 ½ inches, and the tops/bottoms are 2 something.
It doesn’t really matter what the tops/bottoms come out to be as long as your
sides are all the same.

Step
Three
Now you can start painting! I followed the
pattern on the original West Elm box as closely as possible, but you can do any number of
fun patterns and color combinations. I may make another that is lavender,
white, and gold. Keep in mind that you want your triangles close to perfect
without actually being perfect. If you look at the original inspiration, you’ll
see that those triangles aren’t perfect either – the imperfections give it
character.


Step
Four
Once your box is complete,
you can treat it with the acrylic spray. It’s important to apply a VERY light
layer – unevenness will be noticeable because the thicker areas will be
shinier. If you want a really shiny finish, you’ll need to apply multiple thin
layers with about 15 mins of drying time in-between.

Step Five
This last step is optional. After
allowing the box to dry overnight, you can create little “feet” on the bottom
to protect your wood furniture with a hot glue gun. Just make dime sized dots
in each of the four corners.
I also used left over paint on the second smaller box to create a cool diamond pattern, but there are so, so many cool ideas floating around in my head that I may just have to buy another box.

I also used left over paint on the second smaller box to create a cool diamond pattern, but there are so, so many cool ideas floating around in my head that I may just have to buy another box.


wow this looks absolutely beautiful. You have such a steady hand beautiful clean work. I'm totally pinning this.
ReplyDeleteThank you Anam! I'd like to say that it's talent, but in reality it's the result of lots and lots of practice. Thanks for pinning!
DeleteLove this! Gorgeous colors and totally impressive knock off. I also love your blog name! : )
ReplyDelete-Mel the Crafty Scientist
Thank you Mel!
DeleteOkay, this is totally gorgeous. Like I honestly am making a stop to the craft store to get supplies tomorrow. I LOVE it.
ReplyDeleteThank you! I hope the tutorial is easy to follow. :)
DeleteSuper cute! I want to make a few to organize crafty goodies in my office! I might even line mine with faux-velvet or another soft fabric. :) Thanks for the inspiration!
ReplyDeleteThat's such a good idea! I've been debating about lining the interior with a soft fabric, but haven't gotten around to it. :p
DeleteWow that is so cute and easy to do. I think this would be a great craft to do with my daughter
ReplyDeleteI hope you two have fun crafting! Let me know how it works out. :)
DeleteAwesome post! I've been following you for a while, and this is one of my favorite blogs. Thanks for sharing!
ReplyDeleteedirne
ReplyDeletetrabzon
adana
yozgat
RİV