

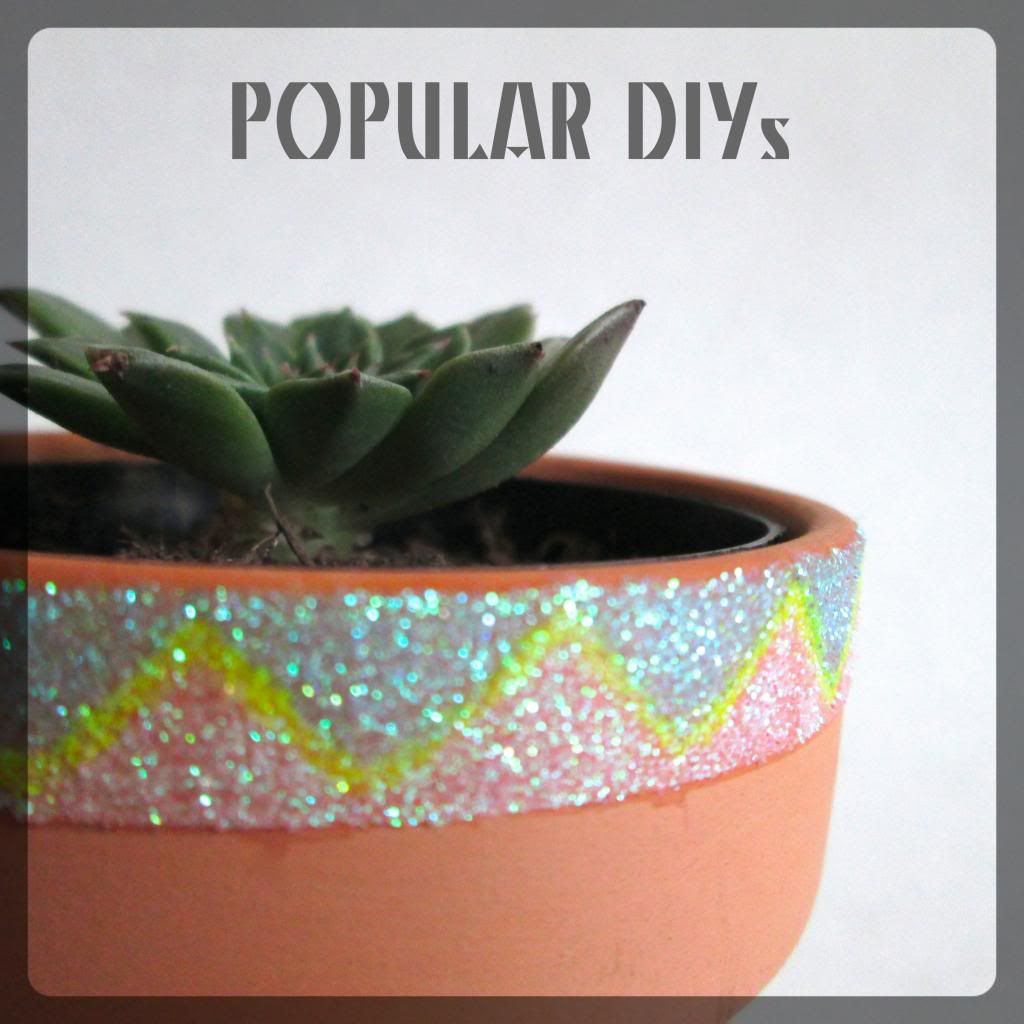
I've done posts using glitter in the past, including glitter phone chargers and even a glitter project round-up, but today it's time to take the sparkle to the great outdoors! err, well, at least as far as your windowsill. These glitter terra cotta pots are super duper easy and just as cute - they'd make great gifts and party favors...IF you can bear to part with them that is. Happy crafting!

You Need:
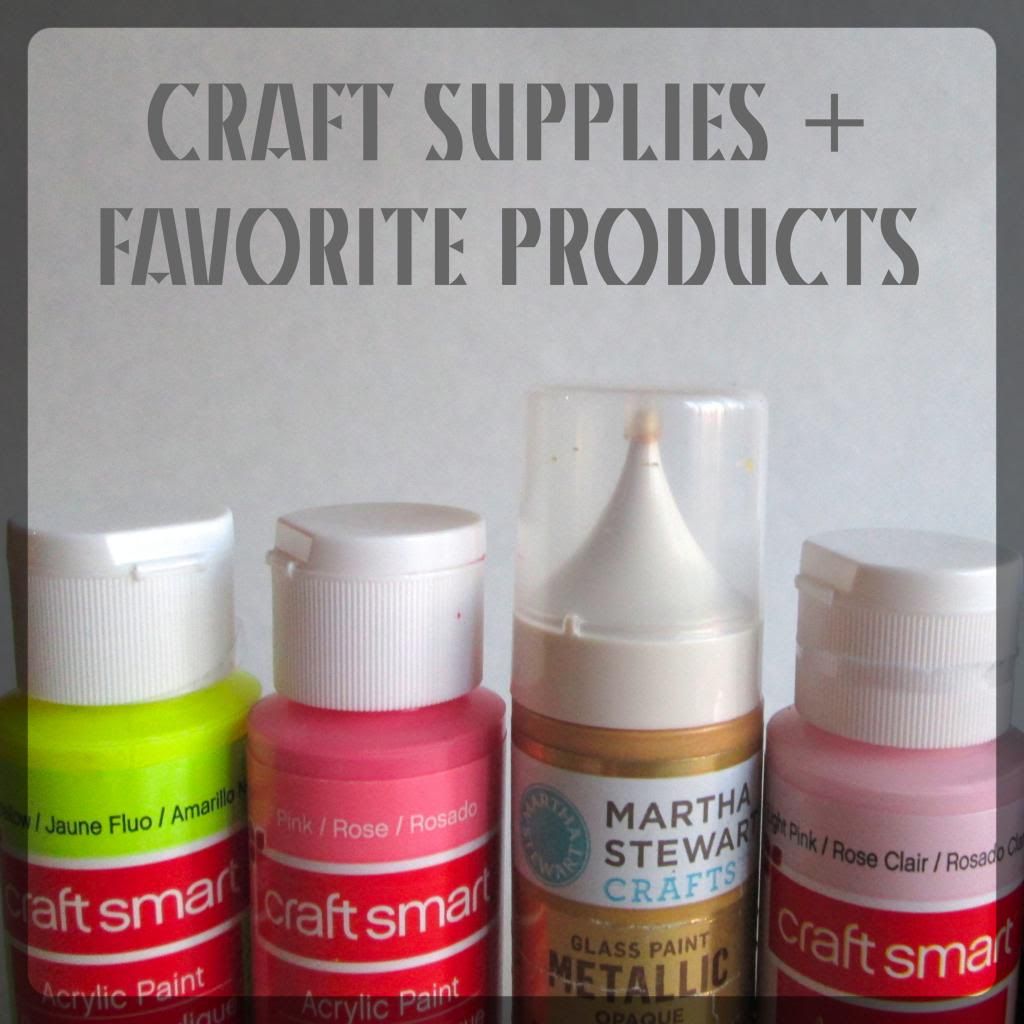
- Terra Cotta Pots of any size (I prefer the teeny-tiny ones)
- Mod Podge – I used the matte finish version so that it’s easier to tell when it’s still wet enough to apply glitter
- Small paint brush – the more complex your pattern, the smaller the brush should be
- Glitter! I used glitter left over from a previous project. You will want to go with a finer glitter (not one with super huge flecks)
- Pencil
- Sealant – I used Mod Podge clear acrylic spray in the shiny finish.
- Tape
Pre-crafting
preparation: To help contain the excess glitter, you can put down a layer of
newspaper. You may also want to keep a small hand-held broom or vacuum close
by.

Step
One
Start by planning your pattern.
For the triangle pattern, I traced a small cardboard triangle around the
upper edge with pencil. For the striped pattern, I just taped off the first
stripe using regular clear tape.

Step Two
Next up is the Mod Podge! Keep in mind that this
step will have to be done quickly and in small sections so that the glitter can
be applied before it has dried. The basic method is paint, glitter, paint,
glitter, until you’ve finished. For both patterns, you’ll want to pour on a
pretty thick layer of glitter. If you pat the glitter on, or dip the pot into
the glitter, if will have a different look than if you pour/sprinkle. You may
want to play around with technique before you start so that you can figure out
what you like best. After covering each section, you can tap the pot gently
against your work surface to knock off extra glitter. Be sure to remove the
tape as soon as you’ve finished apply the glitter – the longer it sits (and the
more the Mod Podge dries), the more likely it is to peel off your carefully painted
stripes.

Step Three
Once you’ve got the method down, it should be
fairly easy to complete. For the tringle pattern, I lined the first row using a
super tiny brush and yellow glitter. I then taped off the bottom row, and
filled in the left over spaces. For the stripes, you do it exactly the same as
the second step.

Step
Four
After allowing the pots to dry over night,
you can tape off the plain areas and then treat them with the acrylic spray. You
should do a light layer, allow it to
dry, and then add more if necessary. I found that it was easiest to hold them upside down when spraying so that any excess drips off instead of running down the pot. This step should also be done outside, as
it is very smelly and kind of goes everywhere. It should be left to dry for several hours - after 15 minutes it should be dry to the touch, but it takes much longer for the chemical smell to go away.

That's it! You've now got adorable custom terra cotta pots. I'm also planning to try the same technique with different colors and patterns, although for now I'm still digging the neon look.

As always, thanks for reading! I love to hear from you, so please feel free to leave a comment below or connect with me on social media.
This post was featured on Oh My! Creative, Huckleberry Love, Wait Till Your Father Gets Home, and Dream a Little Bigger.


OMG....loving this idea! The glitter is perfect for spring. Now if only the weather would start cooperating. We are featuring you next week at the Creative Connection Party! Woo hoo!!
ReplyDeleteOh no way! Thank you so much Meredith!
DeleteI LOVE these! I will be copying your idea and making some for my office! So pretty :) I love all of your fun glittery projects! So glad I'm not the only one with an addiction. Thank you so much for linking up at Thursday STYLE!
ReplyDeleteThank you Angela! I've always believed that you can never have too much glitter (even when the men in my life refer to it as the herpes of the crafting world). Thank you for hosting such a fabulous party! I look forward to it every week.
DeleteVery cute!
ReplyDeleteThat is so pretty. It would be perfect for teachers and for Mother's Day! Thanks for linking up to the Bloggers Brags Pinterest Party. I've pinned your post to the Bloggers Brags Pinterest Board
ReplyDeleteThank you for pinning!! I'm happy to hear you like them - this is one of my favorite projects :)
Delete